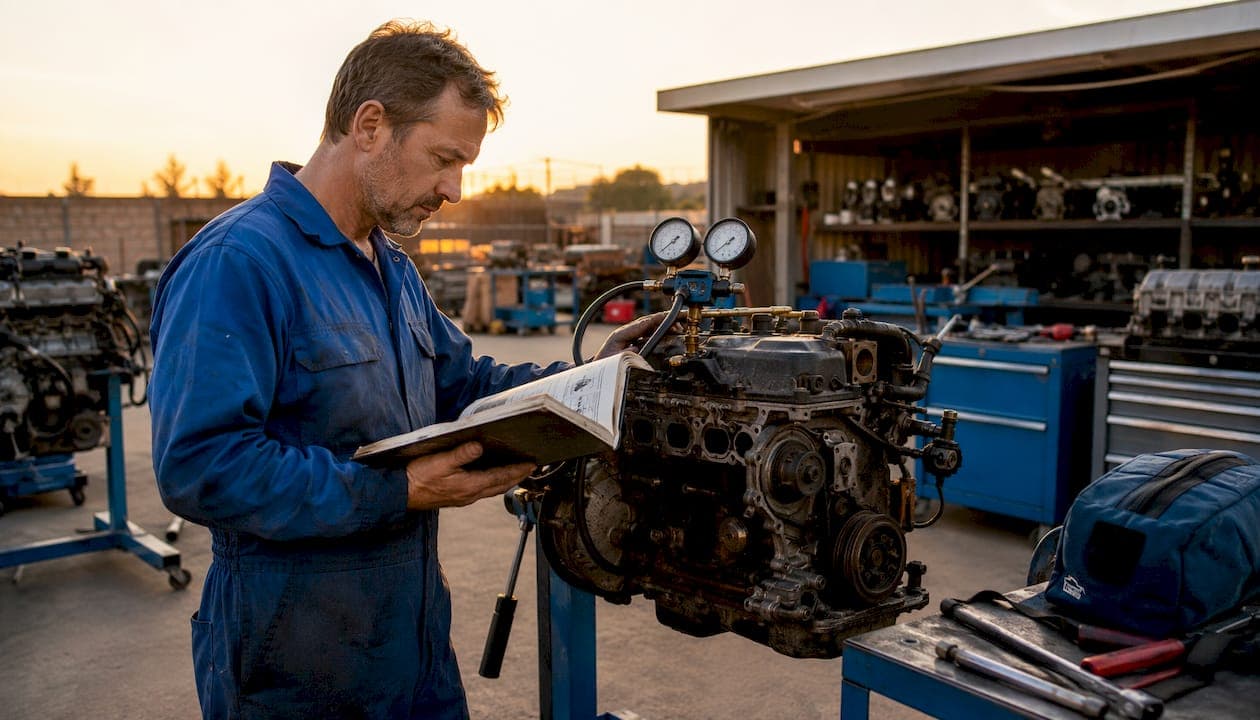
An engine run test is a go/no-go verification that confirms an engine and its supporting systems operate safely and predictably across their full operating range before installation or return to service. At its core, the test monitors critical parameters under load: oil pressure, fuel flow, coolant temperature, RPM stability, ignition and timing behavior, charging system output, and vibration signatures against manufacturer specifications.
The parameters checked at a glance:
- Oil pressure at crank and idle
- Fuel delivery consistency and leak-free connections
- Coolant temperature rise and thermostat function
- RPM stability at idle and through throttle transitions
- Ignition and timing behavior, including mag checks for aircraft
- Charging/alternator output under load
- Vibration and noise signatures indicating balance or bearing health
- External leaks at all pressurized points (oil, coolant, fuel, intake)
Pro Tip: The single biggest preventive benefit of a run test is catching leaks and assembly errors before the engine goes into a tight engine bay — where fixing them costs two to four times the labor.
Table of Contents
- What does an engine run test verify, parameter by parameter?
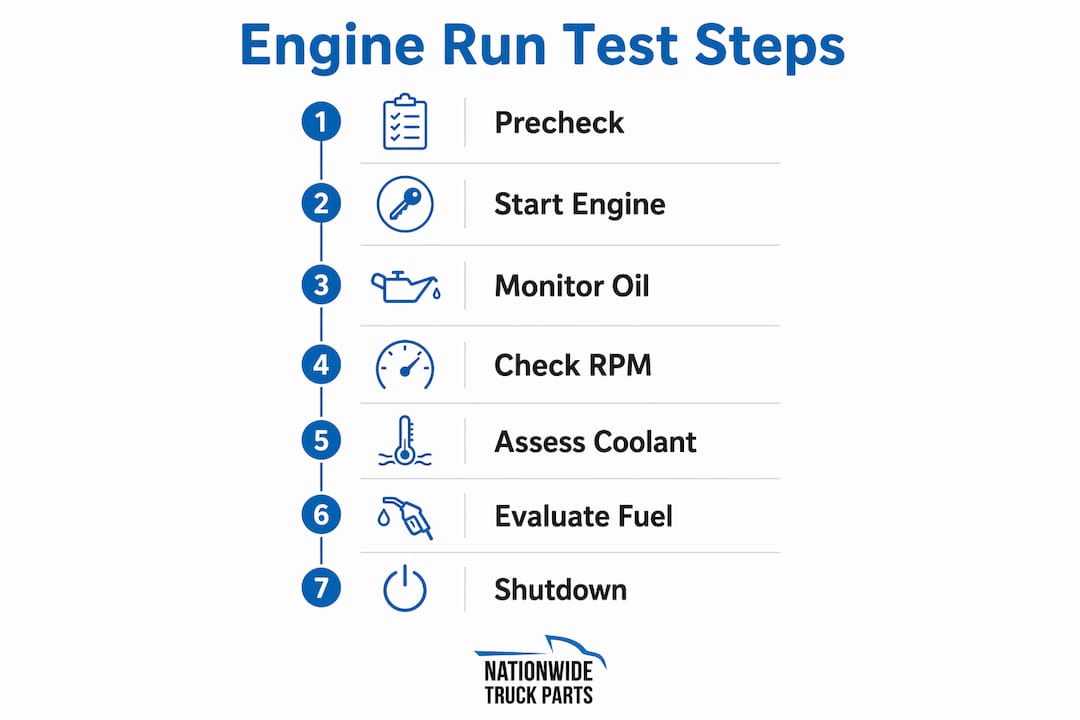
- How to conduct an engine run test from prechecks to shutdown
- Why run an engine on a stand before installation?
- Common failures a run test catches and what to do immediately
- Safety and physical setup checklist for bench runs
- How long does a run test take, and what does it cost?
- How commercial suppliers verify used diesel engines before sale
- Key Takeaways
- The run stand is not optional for serious builds
- Pre-tested engines and transmissions from Nationwide Truck Parts
- Useful sources and further reading
- FAQ
What does an engine run test verify, parameter by parameter?
Every parameter on a run test checklist maps to a specific failure mode. Here is the full reference:
| Parameter | How to Measure | Pass/Fail Cue | If Out of Range |
|---|---|---|---|
| Oil pressure | Mechanical or electronic gauge | Registers within 5–10 seconds of first fire; holds steady at idle | Immediate shutdown; diagnose pump, pickup, or assembly error |
| Coolant temperature | Temp gauge or infrared pyrometer | Rises steadily to thermostat opening point, then stabilizes | Shut down; check for airlock, low coolant, or thermostat failure |
| Fuel pressure/flow | Inline fuel pressure gauge | Consistent pressure, no surging or drop at higher RPM | Inspect fuel pump, filter, and all line connections for leaks |
| RPM stability | Tachometer | Smooth idle; no hunting, surging, or stalling | Adjust carburetion/fuel trim; check for vacuum leaks |
| Ignition/timing | Timing light; mag drop check (aircraft) | Timing at spec; mag drop within acceptable RPM band | Re-time; inspect plug wires, distributor, or magneto |
| Charging output | Multimeter at battery terminals | — | Inspect alternator, regulator, and wiring grounds |
| Vibration/noise | Stethoscope, vibration sensor, or spectral analyzer | No abnormal knock, rattle, or resonance | Identify source: imbalance, bearing, or valvetrain |
| Exhaust smoke | Visual | Clear to light gray at warm idle | Blue = oil burning; black = rich fuel; white = coolant intrusion |
Professional test stands and dynos add vibration spectral analysis to pinpoint imbalances and component-specific signatures that a basic gauge panel will miss.
Monitoring tools worth having on the bench:
- Analog oil pressure and temperature gauges (minimum baseline)
- Digital tachometer or OBD-style data logger
- Infrared pyrometer for spot-checking exhaust ports and coolant hoses
- Mechanic's stethoscope for bearing and valvetrain noise isolation
- Multimeter for charging system verification
- Data logging software or a paper run sheet for timestamped readings
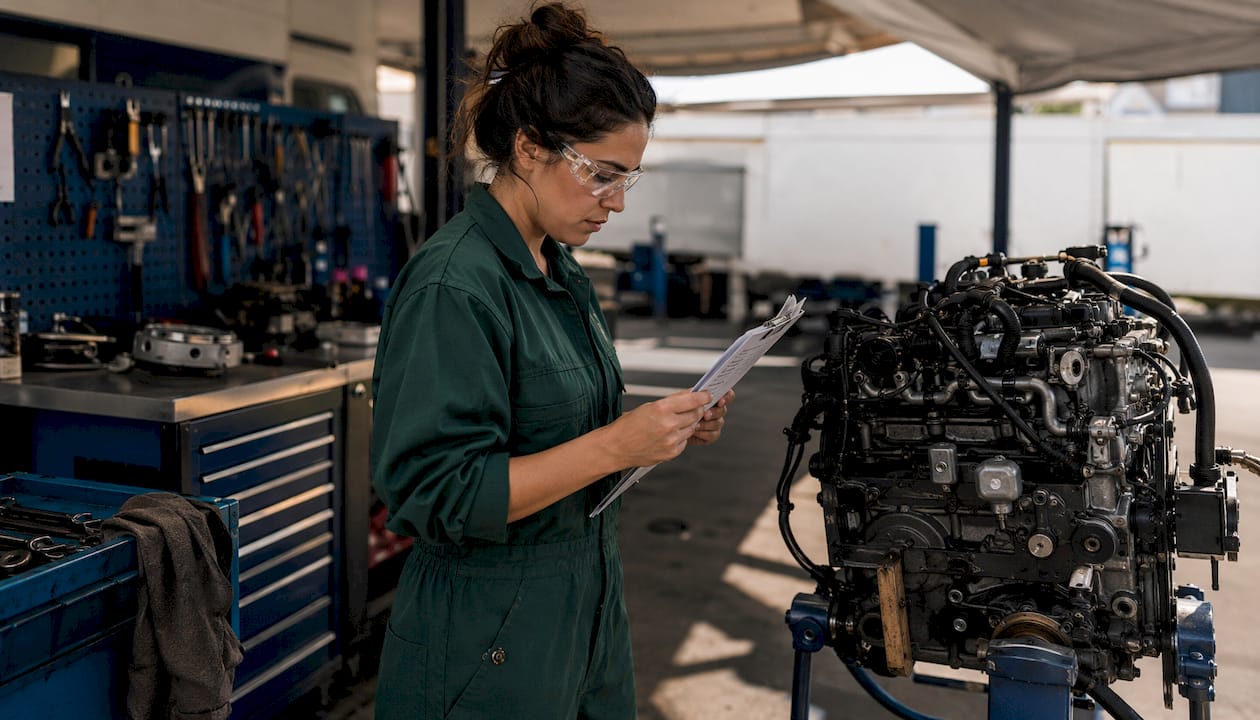
A comprehensive pre-run inspection covers the air intake, emission controls, fuel system components, ignition system, belts and hoses, and oil quality — all before the first crank.
How to conduct an engine run test from prechecks to shutdown
A repeatable procedure is what separates a useful run test from a dangerous guess. Follow this sequence.
Prechecks (before any cranking)
- Confirm the engine is rigidly mounted on the run stand with correct adapter plates and torqued fasteners
- Verify correct oil type and level, coolant fill, and a primed fuel system
- Set up the cooling loop (external radiator or recirculating system) and confirm no air pockets
- Check all electrical connections and grounds; verify battery charge
- Position a fire extinguisher within arm's reach; confirm ventilation or exhaust routing is clear
- Brief anyone in the area on the kill switch location and minimum clearance distances
Run sequence
- Initial crank (no fuel): Crank briefly to build oil pressure before first fire. Watch the gauge.
- First fire: Start the engine and immediately confirm oil pressure registers within 5–10 seconds. No pressure reading is an immediate shutdown condition — no exceptions.
- Idle observation (5–10 minutes): Monitor all gauges. Listen for misfires, ticks, or abnormal noise. Watch for any external leaks at all joints and gaskets.
- Staged power increases: Bring RPM up in increments (e.g., 1,000 → 1,500 → 2,000 RPM). Hold each step for 2–3 minutes. Log readings at every step.
- Transient throttle response: Snap the throttle from idle to mid-range and back. Confirm no hesitation, surge, or stall.
- Sustained higher-RPM run: Hold at the target break-in or verification RPM per the manufacturer's spec. For flat-tappet camshaft break-in, this step is non-negotiable — the cam lobes need sustained oil flow at elevated RPM to seat correctly.
- Cooldown and inspection: Return to idle for 3–5 minutes, then shut down. Inspect all gaskets, fittings, and connections while warm. Check oil for coolant contamination and coolant for oil sheen.
Log at every step: elapsed time, RPM, oil pressure, coolant temp, fuel pressure, and any observations. A timestamped run sheet is your warranty evidence and your diagnostic record.
Pro Tip: Rushing staged power increases is one of the most common causes of preventable failures. Hold each RPM step long enough to confirm temperature stabilization before moving up — FAA advisory guidance on staged power checks makes this point explicitly for aircraft, and the principle applies equally to any bench run.
Safety checkpoints during the run:
- Never lean over a running engine; use remote throttle and kill controls where possible
- Keep bystanders at least 10 feet from the stand during high-RPM runs
- Confirm exhaust is routed away from personnel and flammable materials
- Have a second person present for any first-fire sequence
Why run an engine on a stand before installation?
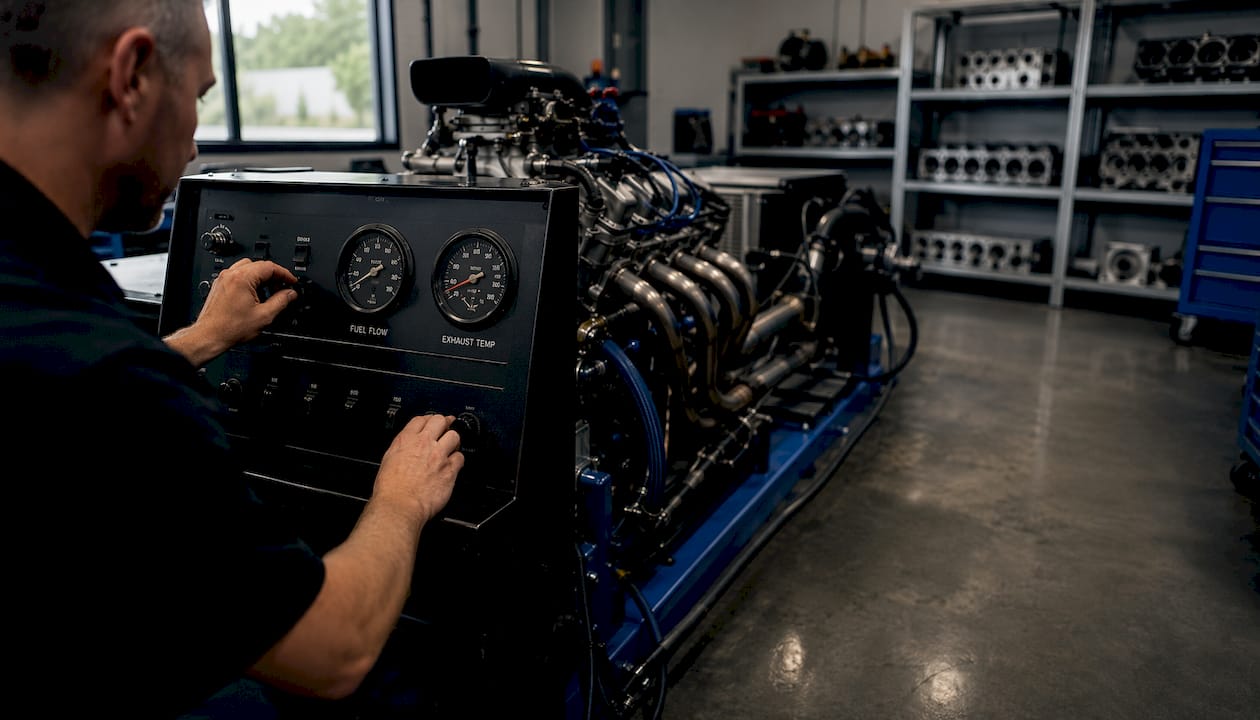
The short answer: run stands reveal leaks and assembly errors that would otherwise require pulling the engine back out of the vehicle. That labor cost alone justifies the test for most builds.
The practical benefits stack up quickly:
- Pre-install leak detection: Oil, coolant, fuel, and intake manifold leaks are far easier to address on a stand than in a cramped engine bay
- Controlled break-in: Piston rings, cam lobes, and bearing surfaces seat properly under monitored, controlled conditions rather than in traffic
- Easy adjustments: Timing, idle speed, and carburetion can be dialed in with full access to every component
- Fault isolation: Any misfire, knock, or pressure anomaly is diagnosed without the noise and complexity of a full vehicle system
For a hobbyist doing a one-off engine swap, a run stand is the difference between a confident installation and a roll of the dice. For a shop or fleet operation doing repeat builds, the benefits of tested used diesel engines extend to warranty risk mitigation and reduced comeback rates.
Full dyno testing goes a step further, capturing torque and horsepower curves and formal acceptance data. Regulatory recertification, such as the 150-hour endurance test required under 14 CFR § 33.49 for aircraft engines, demands that level of documented data depth. A bench run test covers the functional and safety verification layers; a dyno or formal recertification adds the performance certification layer on top.
Common failures a run test catches and what to do immediately
Knowing what to look for is half the job. Here are the failures that show up most often, and the correct immediate response for each.
- Active fuel leak: Shut down immediately. A fuel leak near a hot exhaust manifold is a fire risk. Locate and repair before any restart.
- Low or no oil pressure: Shut down within seconds. Do not run the engine further. Diagnose oil pump, pickup tube, or internal passage blockage before any retry.
- Coolant overheating or airlock: Reduce to idle, then shut down. Bleed the cooling system and recheck coolant level. An airlock will cause a rapid, misleading temperature spike.
- Misfire or rough running: Note which RPM range triggers it. Isolate to ignition (plug, wire, coil) or fuel delivery (injector, carburetor circuit). A consistent single-cylinder miss points to ignition; a lean surge across the range points to fuel.
- Abnormal vibration: Shut down and investigate before continuing. Vibration can indicate rotating assembly imbalance, a loose harmonic balancer, or a bearing beginning to fail. Running through it causes rapid damage.
- Oil/coolant cross-contamination: Milky oil or an oily coolant reservoir means a head gasket or cracked block. This is a teardown condition — no further running.
For commercial truck engine failures, the same failure modes apply, and the same immediate-stop logic holds regardless of engine displacement.
Pro Tip: When you see abnormal vibration or a bearing-type knock, the decision tree is simple: shut down, do not reduce RPM and "listen more," and do not restart until you have identified the source. Running a knocking engine for even 30 seconds to "confirm" the noise can turn a repairable bearing into a destroyed crank.
Safety and physical setup checklist for bench runs
A shifting or poorly mounted run stand is a genuine hazard during high-torque, high-RPM runs. Get the setup right before anything else.
Mechanical mounting:
- Use heavy square steel tubing (2–2.5 inch) for the stand frame; engine stands built to ASME standards for portable automotive service equipment provide a baseline for structural requirements
- Lock all four casters before any run; a rolling stand under torque load is dangerous
- Use correct adapter plates for the block pattern; confirm all mounting bolts are torqued to spec
Fuel and electrical:
- Use a remote fuel tank with an anti-siphon fitting and a manual fuel shutoff within reach
- Isolate the battery with a main disconnect; route all wiring away from exhaust
- Verify chassis ground from block to stand frame to prevent stray current damage
Ventilation and fire suppression:
- Route exhaust outside or through a dedicated extraction system; carbon monoxide accumulates fast in enclosed spaces
- Keep a minimum 5-lb dry chemical or CO2 extinguisher within arm's reach at all times
- Clear a 10-foot radius of flammable materials before first fire
Personal protective equipment:
- Safety glasses and hearing protection are non-negotiable during any run
- No loose clothing near rotating components; keep hands clear of belts and pulleys
Pro Tip: A full-featured run stand with an integrated fuel system, radiator, gauge panel, and throttle cable is worth the cost for anyone doing more than one or two builds a year. The convenience of having everything pre-plumbed pays back in setup time alone.
How long does a run test take, and what does it cost?
Time and cost vary by the test's scope and what the engine reveals.
Typical time ranges:
- Quick verification run (confirm start, idle, and basic pressures): short duration
- Full break-in and staged verification (rings, cam, all parameters logged): several hours
- Extended diagnostic run if a problem surfaces: additional time depending on teardown depth
Cost drivers:
- Technician labor at shop rates (the dominant cost for most builds)
- Fuel and consumables (oil, coolant, filters for post-run inspection)
- Run stand rental versus purchase (basic stands range widely; full-featured stands with gauge panels cost more)
- Instrumentation and data logging equipment
- Potential teardown and repair costs if a failure is found during the run
Cost-saving options:
- Rent time on a local shop's dedicated test stand rather than buying one for occasional use
- Use a basic analog gauge panel (oil pressure, coolant temp, tach) for budget builds where full data logging is not required
- For fleet operations, coordinating multi-truck engine replacements on a shared test stand schedule reduces per-unit cost significantly
How commercial suppliers verify used diesel engines before sale
A supplier-grade verification workflow is more structured than a typical garage run, and it produces documentation that travels with the engine.
The process typically runs in this order: initial visual inspection and dimensional documentation, full run on a dedicated stand with all parameters logged against manufacturer spec targets, targeted load and transient tests to confirm responsiveness, a cool-down inspection of plugs and filters, and a final certification sheet signed off by the technician.
Run sheets are treated as verification evidence. In professional maintenance and aviation recertification, meticulous documentation of all readings is required to prove compliance with regulatory or customer warranty requirements. The same principle applies to commercial engine resellers: a logged run sheet is the difference between a warranty claim you can defend and one you cannot.
Suppliers map every reading to the original manufacturer's specification tolerances. An oil pressure reading that falls within spec at idle and at load, a coolant temperature that stabilizes at the correct thermostat opening point, and a clean exhaust signature at all tested RPM levels all get recorded on the run sheet. That sheet becomes the warranty evidence.
For a garage or experienced hobbyist adapting this workflow, the key step most people skip is the post-cooldown inspection. Pull a plug from each cylinder, check the oil for contamination, and inspect the coolant. Those three checks catch the slow failures that a hot run can mask.
Pro Tip: Photograph the run sheet, the gauge readings at peak load, and the engine ID plate before the engine ships or gets installed. Those photos are your first line of defense in any warranty dispute. For more on diesel engine testing procedures, Nationwide Truck Parts's technical guides cover the specifics in detail.
Key Takeaways
An engine run test verifies oil pressure, fuel delivery, coolant behavior, RPM stability, ignition timing, charging output, and leak-free operation before installation, with oil pressure at first fire being the single most critical immediate go/no-go indicator.
| Point | Details |
|---|---|
| Oil pressure is the first gate | No pressure within 5–10 seconds of first fire is an immediate shutdown condition, no exceptions. |
| Staged power checks prevent failures | Rushing RPM increases skips the stabilization window where most leaks and assembly errors reveal themselves. |
| Run stands enable controlled break-in | Cam lobes, piston rings, and bearings seat correctly only under monitored, sustained RPM conditions. |
| Documentation is warranty evidence | A timestamped run sheet with logged readings is the only defensible record for warranty or resale claims. |
| Nationwide Truck Parts pre-tests inventory | Units from Nationwide Truck Parts ship with inspection and testing already completed, backed by a standard warranty. |
The run stand is not optional for serious builds
The conventional wisdom treats a run stand as a nice-to-have for enthusiasts and a shop luxury for small operations. That framing is wrong, and the labor bills prove it.
Every engine that goes into a vehicle without a bench run is a bet that the assembly was perfect, the gaskets sealed on the first try, and the oil pump primed correctly. Sometimes that bet pays off. When it does not, you are pulling the engine back out, which costs more in labor than the run stand ever would have.
The more interesting argument is about what a run test actually validates. Starting the engine is not the test. Confirming that it runs predictably across its operating range, holds pressure under load, responds cleanly to throttle transitions, and produces no abnormal noise or smoke at sustained RPM, that is the test. An engine that starts and idles fine can still have a marginal oil pump, a slow coolant leak at a core plug, or a cam lobe that is not seating correctly. None of those show up in a two-minute idle. They show up at mile 500, inside the vehicle, at the worst possible time.
For anyone doing a reman diesel, a performance build, or a used engine swap, the rule is simple: run it on the stand first, log everything, and only install it when the data says it is ready.
Pre-tested engines and transmissions from Nationwide Truck Parts
If you would rather skip the bench run entirely and start with a unit that has already been through a full inspection and test cycle, Nationwide Truck Parts carries a daily-changing inventory of tested used diesel engines and transmissions, each backed by a standard warranty and available for same-day shipping.
For drivetrain builds specifically, the inventory includes verified units like the 2014 Eaton-Fuller FRO-14210B transmission, the Eaton/Fuller FRO14210C 10-speed with overdrive and PTO, and the Fuller FM15E310B with TCM Ultrashift, all inspected before they ship. For engines, browse the full truck engines for sale catalog or contact Nationwide Truck Parts directly to confirm availability on a specific make, model, and spec. Every unit comes with the documentation you need to verify what was tested and what the readings showed.
Useful sources and further reading
- Federal Register (regulatory documentation context) — background on documentation requirements for engine maintenance compliance
- 14 CFR § 33.49 Endurance Test — Cornell LII — U.S. federal regulation governing formal engine endurance test requirements for aircraft certification
- FAA Advisory Circulars — staged power check guidance and go/no-go threshold documentation for regulated engine runs
- Turbine Engine Solutions — Recertification Test Run — practical overview of what a formal recertification run test monitors and documents
- Redline Stands — How to Use an Engine Run Stand — step-by-step practical guide for bench run setup, oil pressure timing, and safety
- Hot Rod — Engine Run Stand Benefits — real-world builder perspective on economic justification and common saves
- DataMyte — Vehicle Engine Inspection Checklist — pre-run inspection checklist covering all major engine systems
- Nationwide Truck Parts — Diesel Engine Testing Guide — technical procedures specific to heavy-duty diesel engine verification
FAQ
What does an engine run test verify?
An engine run test verifies that oil pressure, fuel delivery, coolant temperature, RPM stability, ignition timing, charging output, and all external seals function correctly across the engine's operating range. It is a go/no-go check confirming the engine is safe and ready for installation or return to service.
What do mechanics check when running engine diagnostics?
Mechanics monitor oil pressure, coolant temperature, fuel pressure, RPM behavior, exhaust smoke color, and electrical output, then compare each reading against the manufacturer's specification tolerances. Abnormal readings trigger targeted diagnostics before the engine is cleared for installation.
Why is my check engine light on but the engine runs fine?
A check engine light with no obvious drivability symptom usually indicates a sensor reading outside its calibrated threshold, an emissions system fault, or an intermittent misfire that has not yet affected idle quality. A scan tool pulling the stored fault code is the fastest way to identify the specific system flagged.
What is an engine run, and how long does it take?
An engine run is a controlled test sequence that starts the engine on a stand or in the vehicle and monitors all critical parameters through idle, staged power increases, and transient throttle response. A basic verification run takes about half an hour; a full break-in and staged verification run typically takes 1–3 hours.
When should you always run an engine on a stand before installing it?
Any newly built, remanufactured, or used engine with unknown service history should be run on a stand before installation. The controlled environment makes leak detection, timing adjustments, and break-in procedures far easier than in-vehicle testing, and it avoids the labor cost of removing the engine to fix problems found after the fact.