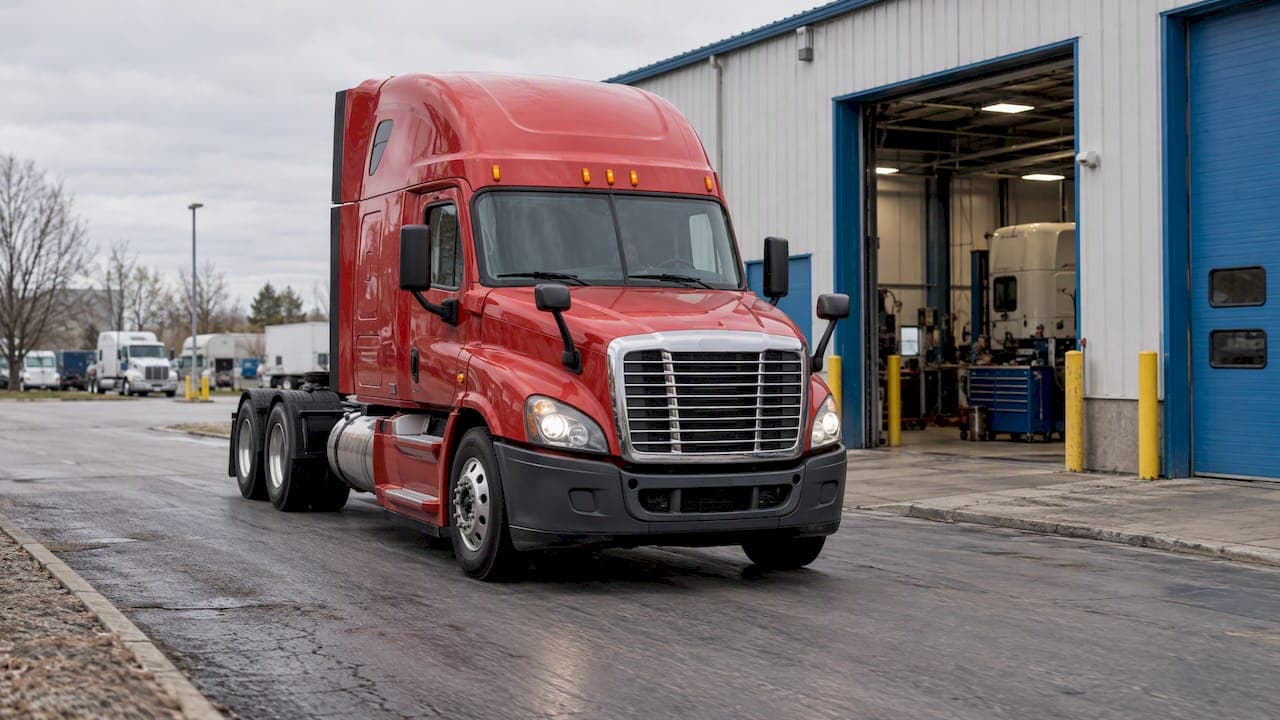
A post-swap road test is a planned drive, with a baseline reading, a cold start, a warm-up, mixed road conditions and a written record, done after an engine or transmission swap and before the truck goes back into service. Do it in this order: static checks first, then a short low-risk loop, then loaded or highway running, then a fault-code check and a follow-up inspection. Skip a step and you can turn a good swap into a repeat repair.
This guide is for owner-operators, shop mechanics and fleet managers who just installed a replacement engine, transmission or differential and need to know what to check, where to drive and when to park the truck again.
TL;DR
- Finish a static inspection before the first drive: leaks, fluid levels, steering, driveline and oil pressure at start-up.
- Take a baseline reading at the start, then drive a planned route that includes a cold start, warm-up, city and highway running.
- Check and clear the fault code memory before and after the run, even if no warning light came on.
- Stop and inspect at once for low air pressure, leaks, steering damage, vibration or driveline noise.
- Write everything down, and do a follow-up inspection after a short shakedown before calling the truck fully in service.
Table of Contents
- Start with a static inspection, not the road
- Pick the route before you turn the key
- Take a baseline, then drive in phases
- What to watch: gauges, lights and codes
- Symptoms that mean stop and inspect
- After the drive: inspect and document
- Commercial truck rules to keep in mind
- The shakedown and follow-up inspection
- Our perspective
- Need a swap-ready engine or transmission?
- FAQ
- Sources
Start with a static inspection, not the road
The road test begins in the shop. Most problems that show up on the road were visible at idle if someone looked.
The U.S. Mine Safety and Health Administration's preoperation card for trucks tells operators to inspect underneath for fuel, coolant, grease and hydraulic leaks and to check engine, transmission, coolant and battery-fluid levels. The same card says that damaged or leaking steering components mean the truck is not to be driven. After a swap, treat every fitting you disturbed as a suspect: fuel lines, coolant hoses, transmission cooler lines, air lines and the exhaust connection.

Oil pressure and first start
A replacement engine should not be cranked cold and dry. Engine installation guidance from a major parts manufacturer states that oil pressure must be built up before starting a new engine to prevent dry running and bearing damage. Watch the oil pressure gauge the moment the engine fires, and shut it down if pressure does not come up.
The same checklist notes that many components, including air mass sensors, throttle valves and EGR valves, have to be adapted after replacement. On a modern diesel, that means a scan tool session belongs in the pre-drive routine, not as an afterthought.
Driveline and mounting check
If the swap involved a transmission or differential, or even just a different engine position, look at the driveline. A federal job aid for vehicle inspections lists bent or damaged drivelines and missing carrier bearings or driveline hoops among its checks. After a swap, confirm the driveshaft angles look right, the U-joints are seated, and the hardware is torqued to the manufacturer's specification.
A quick pre-drive list:
- Walk around and under the truck for fuel, coolant, oil, grease and hydraulic leaks.
- Check engine oil, transmission fluid, coolant and battery fluid levels.
- Inspect steering components and the driveline.
- Build air pressure and confirm the air system holds.
- Connect the scan tool, read the fault code memory and record what is there.
- Start the engine, watch oil pressure, and listen at idle.
If you are still planning the swap itself, our overview of how truck engine replacement works covers the steps leading up to this point.
Pick the route before you turn the key
Random driving gives random results. A good route lets you test the truck under different loads and speeds while keeping risk low.
ShopOwner Magazine's road testing guidance recommends routes that favor right-hand turns and avoid congested areas, construction zones and school zones. That advice is written for general repair shops, but it fits a truck that has just had major work: you want predictable conditions and room to stop.
For a heavy truck, a good loop usually has:
- A quiet lot or side street for the first low-speed checks of steering, brakes and shifting.
- A stretch of stop-and-go or urban-style driving.
- A highway section where you can hold steady speed and run up through the gears.
- A safe place to pull over and inspect partway through.
The engine installation checklist cited above says the test run should cover a cold start, warm-up, urban traffic and highway driving. Build the route around those four phases.
Keep the first drive short
The first outing is a function check, not a performance test. Keep it to a few miles, stay close to the shop and have a way to be recovered. Do not run a freshly swapped truck at full load on the first trip. If you are using a replacement engine that still needs its break-in, our guide on breaking a diesel engine in under load explains how to approach the first hours of service.
Take a baseline, then drive in phases
ShopOwner Magazine's guidelines advise doing a baseline evaluation at the start of a road test: note the vehicle's performance, unusual sounds, vibrations and warning lights, so you have a reference for judging whether the repair worked. After a swap, your baseline is what the truck does in the first minute: idle quality, gauge readings, any lights on the dash, any noise from the driveline.
Phase 1: cold start and idle
Start the engine cold if you can. Cold starts show problems that a warm engine hides, such as hard starting, rough idle and smoke. Watch oil pressure, coolant temperature, air pressure and voltage. Let it idle through the warm-up and keep an eye on the ground beneath it.
Phase 2: low-speed driving
Pull out slowly. Check that the steering is centered and free, the brakes bite evenly, and the transmission engages each gear without clunking or slipping. Make a few stops and starts. Pull over and look under the truck again.
Phase 3: urban and highway running
Once the basics are clean, move into traffic, then onto a highway. Hold a steady speed and watch for vibration, which can mean a driveline problem rather than an engine one. Accelerate firmly but not at full load, listen for changes in sound, and watch temperatures climb and then settle.

If you are verifying a drive cycle for emissions monitors, remember that MOTOR notes drive cycles often require specific, non-everyday conditions and that safety must stay the priority while you chase them. Do not push speed or traffic risk just to set a monitor.
What to watch: gauges, lights and codes
| What you watch | What you are looking for | Action if wrong |
|---|---|---|
| Oil pressure | Pressure at start-up and steady under load | Shut down and inspect |
| Coolant temperature | Reaches normal range and holds | Pull over and check for leaks and level |
| Air pressure | Builds and holds | Stop; do not drive until fixed |
| Warning lights | None that were not in your baseline | Read the codes before continuing |
| Transmission behavior | Clean engagement, no slip, no harsh shifts | Park and inspect |
| Driveline | Smooth at all speeds | Stop and inspect |
The federal job aid cited above says low air pressure while driving requires an emergency stop, and that the truck is not to be driven until the problem is fixed. That is not a "note it and keep going" item.
Codes before and after
The engine installation checklist is direct on this point: check and delete the fault code memory before and after the test run, even if the malfunction indicator lamp does not light. Read and record codes first so you know what was already stored. Clear them, drive, then read again. Any code that returns is a real finding, not a leftover.
Some repairs make the road test part of the verification itself. A 2017 Detroit Diesel service bulletin, for example, requires a road test to confirm whether SPN 157/FMI 16 clears after fuel system repairs. If your swap addressed a known code, check the manufacturer's service information for the confirmation procedure.
Symptoms that mean stop and inspect
Some signs call for pulling over, not for adjusting your expectations.
- Vibration or driveline noise. International's 2025 driveline troubleshooting bulletin lists vibration, driveline noise, unexplained power-divider or transmission failures and poor U-joint or carrier-bearing life as symptoms that call for a driveline inspection of the driveshaft, U-joints, yokes and the installation condition.
- Low or falling air pressure. Stop, as described above.
- Leaks of fuel, coolant, oil or hydraulic fluid. Fix before further driving.
- Steering damage or looseness. Do not drive.
- Oil pressure that will not build or drops under load. Shut down.
- A warning light or code you did not have in the baseline. Read it before deciding.
If a vibration appears after the swap, check installation first: yoke alignment, U-joint seating, carrier bearing position and driveshaft angles. Our guide on types of commercial truck engine failures helps separate engine-side faults from the rest.
When a symptom points inside the engine, such as low compression or suspected cylinder leakage, a diesel leak down test gives you a measured answer rather than a guess.
After the drive: inspect and document
When you are back at the shop, do not just park the truck.
- Let it idle and look under it again for leaks.
- Recheck fluid levels, since new systems settle and air pockets work out.
- Read the fault code memory, record what you find, then clear it as the checklist instructs.
- Inspect the driveline, mounts, hoses and clamps for movement or rubbing.
- Write down what you saw.
ShopOwner Magazine states that documenting road test results, including observations and test data creates a vital record for maintenance history and later servicing. For a swapped engine, that record also helps if a warranty question arises: it shows what was checked, when and by whom.
The FMCSA's Driver Vehicle Inspection Report form is a handy model for what to cover. It includes transmission, driveline, engine, oil pressure, radiator, steering, brakes, tires, wheels and fuel tanks among the items where defects are recorded and described. Using the same headings in your post-swap notes keeps the record consistent with what drivers will report later.
Commercial truck rules to keep in mind
If the truck is a commercial motor vehicle, federal inspection and repair rules apply once it returns to work. FMCSA's safety planner explains that under 49 CFR 396.11, drivers must inspect their vehicles and report safety defects at the end of each day's work, and under 396.13 they must inspect before operating and be satisfied the vehicle is safe. Carriers must repair defects before dispatch and certify the repair or that none was needed.
FMCSA's vehicle maintenance guidance adds that carriers must ensure defects affecting safety are reported, repaired and certified before operation, and that vehicles with out-of-service defects must not run before they are repaired. In practice: if your road test turns up a defect, it is repaired and signed off before the truck is dispatched. For fleets, that sign-off belongs in the same file as your road test notes.
The shakedown and follow-up inspection
Passing the road test does not end the job. J.J. Keller recommends a documented follow-up inspection after a short shakedown period for new or repaired trucks, and says the vehicle should not be considered fully in service until that inspection is complete, because real operating conditions can reveal problems a shop cannot simulate.
Practical timing is up to your maintenance program and the manufacturer's instructions, but the pattern is steady: run the truck on easy work, then bring it back for a second look at leaks, fluid levels, fasteners, belts, hoses and driveline hardware. If you manage several trucks, our guide to coordinating multi-truck engine replacements shows how to schedule these follow-ups so trucks do not all come back at once.
Our perspective
We sell used diesel engines, transmissions and differentials, and we see the same pattern across swaps: the best outcomes come from owners and shops who treat the install and the road test as one job. Our parts are tested and inspected before sale and come with a standard warranty, and that testing is designed to give you a sound starting point. What happens next, the install, the break-in and the road test, is how that starting point turns into miles.
This is why we push for the paperwork. A baseline, a code readout, a route log and a follow-up inspection cost an hour or two. They also give you clear answers if something shows up later, and a clean record to hand us if you ever need to talk about a warranty claim. If you are an owner-operator, our piece on extending truck engine life picks up where the road test leaves off.
And if you are replacing under time pressure, it helps to have a part that is ready to ship. Our inventory changes daily, and same-day shipping is part of how we help get trucks back on the road.
— John
Need a swap-ready engine or transmission?
If the road test is still ahead of you and the part is not yet on the truck, we carry tested, warrantied used units for major brands including Cummins, Detroit, Caterpillar, Paccar, Volvo, International and Mack. Browse used truck engines for sale, or look at transmissions and differentials if the job goes beyond the engine.
If you want to see what a listing looks like, take a look at the 2015 Paccar MX13 engine or the 2014 Detroit DD15. For ways to keep the overall job affordable, see our guide on saving on heavy truck engine costs.
FAQ
How long should a post-swap road test be?
There is no single figure in the sources we used, so follow the engine or transmission manufacturer's instructions. Plan for enough time to cover a cold start, warm-up, city driving and highway driving, with stops to inspect. Keep the first trip short and close to the shop.
Should I clear fault codes before the road test?
Yes, after reading and recording them. A major parts manufacturer's installation checklist says to check and delete the fault code memory before and after the test run, even if the warning lamp stays off. Codes that come back after clearing are the ones to investigate.
What should make me stop during the test?
Pull over for low air pressure, leaks, damaged steering parts, oil pressure that will not build, or vibration and driveline noise. Federal guidance says not to drive a truck with low air pressure or damaged steering components until they are fixed.
Do I need to document the road test?
Yes. A written record of observations and test data gives you a maintenance history and a reference for later service. For commercial trucks, defects found must be repaired and certified before dispatch under FMCSA rules.
Is the truck ready for full work after one good drive?
Not necessarily. J.J. Keller advises a documented follow-up inspection after a short shakedown, and says the truck should not be treated as fully in service until that is done.
Sources
- MSHA truck preoperation card
- Vehicle Inspections Job Aid (NIFC)
- Engine installation and initial start-up checklist
- Road Testing For Customer Satisfaction, Safety (ShopOwner)
- Completing a Drive Cycle (MOTOR)
- Detroit Diesel service bulletin, SPN 157/FMI 16
- International driveline troubleshooting bulletin
- FMCSA Driver's Vehicle Inspection Report
- FMCSA Motor Carrier Safety Planner, inspection and repair
- FMCSA Safety Management Cycle for Vehicle Maintenance
- J.J. Keller preventive maintenance program